Mastering Plumbing Pipe Maintenance: A Beginner’s Guide
A small drip is not trivial. In a pressurized plumbing system it is an early warning of wear, corrosion, or poor sealing that can escalate into a costly failure. This beginner friendly how-to introduces plumbing pipe maintenance with clear steps you can apply immediately. You will learn how to identify common pipe materials, copper, PEX, PVC, and galvanized steel, and why each requires different care. You will set a simple inspection schedule, measure static and dynamic water pressure with an inexpensive gauge, and locate and exercise shutoff valves to ensure fast isolation during an emergency.
We will cover how to spot early signs of trouble, corrosion, scale, sweating, noise, discoloration, and biofilm. You will learn routine tasks that extend service life, flushing supply lines, cleaning aerators, descaling fixtures, insulating pipes to prevent freezing, checking supports and slope, and selecting the correct thread sealant or tape for fittings. Basic tools will be outlined, flashlight, rag, bucket, gauge, adjustable wrench, pipe cutter, and safety procedures, depressurizing lines and verifying zero pressure, will be emphasized. By the end, you will have a practical maintenance checklist, the confidence to perform minor fixes, and clear criteria for when to call a professional.
Understanding the Basics of Plumbing Pipe Maintenance
Effective plumbing pipe maintenance starts with disciplined inspection practices and simple preventative habits. A full-system review at least once per year, plus seasonal checkups before heat waves and freezes, catches small leaks, corrosion, and pressure anomalies before they become failures. Hidden leaks drive up water bills and can seed mold, which is why early detection is emphasized in guidance on the importance of regular plumbing inspections. Industry snapshots indicate that many households experience avoidable plumbing issues annually, underscoring the value of routine checks and documentation, see these plumbing industry statistics. As smart water tools scale toward a multibillion dollar market by 2026, adding a monitor or auto shutoff can provide real-time alerts that complement visual inspections. In cold regions, maintain indoor temperatures at or above 55 degrees Fahrenheit and insulate exposed piping to reduce freeze risk.
Common pipe materials you will encounter
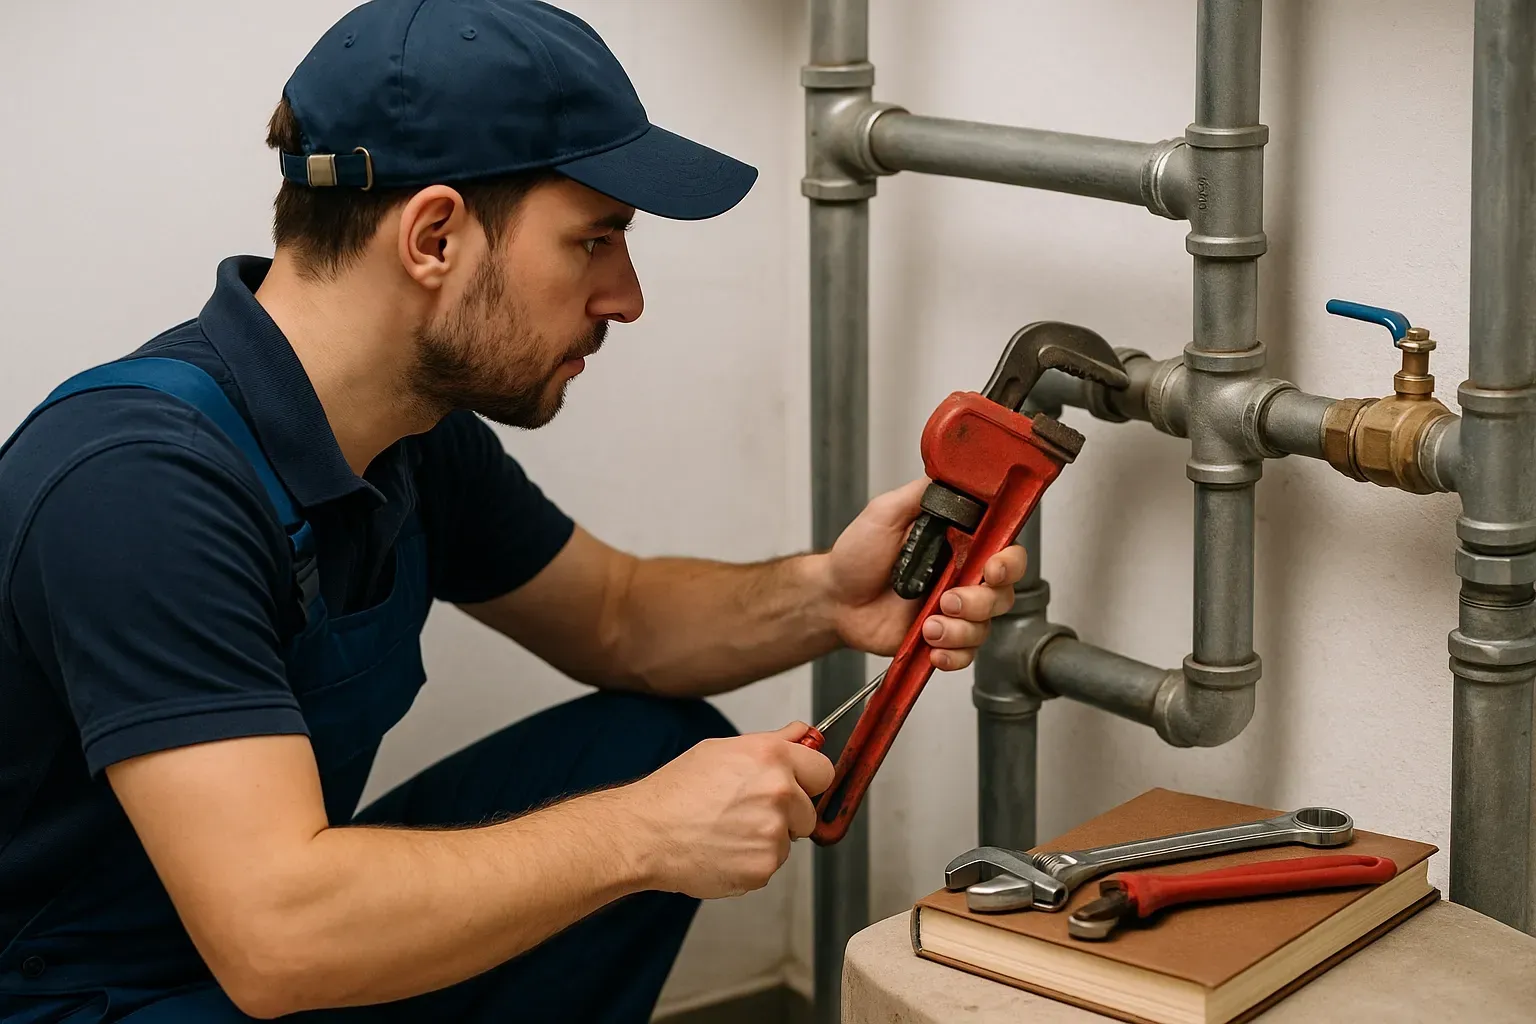
Understanding pipe materials informs what to look for during maintenance. Copper supply lines are durable and corrosion resistant, but pinhole leaks can form where water chemistry is aggressive. PEX is flexible and tolerant of temperature swings, yet UV exposure can degrade unused coils stored outdoors. PVC is common for drain, waste, and vent, but it is not rated for hot water service; CPVC or PEX are preferred for hot lines. Cast iron, often used on larger drain stacks, provides sound attenuation but can scale internally over decades. For a concise overview, see this guide to common commercial plumbing pipe materials.
Beginner inspection checklist, prerequisites, and steps
Prerequisites and materials: flashlight, paper towels, pressure gauge, bucket, adjustable wrench, plumber’s tape, smartphone for photos, gloves and eye protection.
- Locate and operate shutoffs. Verify the main valve and critical fixture valves open and close smoothly.
- Perform a visual survey. Check under sinks, basements, and mechanical rooms for drips, green-blue stains on copper, white crust on brass, rust on iron, warped cabinetry, or musty odors.
- Measure pressure and flow. Attach a gauge to a hose bib; target 40 to 80 psi. Open two fixtures and note excessive pressure drop.
- Test drainage. Run fixtures for two minutes. Watch traps and exposed drains for weeping and note gurgling or slow flow.
- Check heaters and sediment. Drain 1 to 2 gallons from the water heater; look for grit or discoloration. Confirm the temperature and pressure relief valve discharge line is unobstructed.
- Protect against freezing and leaks. Insulate exposed lines, seal wall penetrations, keep thermostats at 55 degrees or higher, and consider a smart leak monitor with automatic shutoff.
Expected outcomes: verified shutoff operation, baseline pressure reading, early leak detection, cleaner drainage, and reduced burst and water-damage risk.
Neglecting pipe maintenance leads to predictable failures. Chronic microleaks cause rot and mold; corrosion narrows pipe diameters and depressurizes fixtures; sediment and debris create clogs that can back up drains. Poorly maintained systems also increase cross-contamination risk if backflow protections are not inspected. Routine inspections and documentation reduce these hazards and extend pipe life. In Omaha and Council Bluffs, schedule checks before deep winter and peak summer, then log findings with dates and photos to guide timely professional service.
Essential Tools and Materials for Plumbing Pipe Maintenance
Prerequisites and safety
Before any plumbing pipe maintenance, shut off the local fixture valve or the main and relieve pressure by opening a nearby faucet. Wear nitrile or rubber gloves, safety glasses, and knee pads, and use slip resistant work boots for stability on wet floors. Set up a bright flashlight or headlamp so you can work hands free in basements, crawl spaces, and under sinks. In winter, especially in Omaha and Council Bluffs, maintain indoor temperatures at or above 55 degrees Fahrenheit to reduce freeze risk. The expected outcome is a controlled, well lit work area that limits exposure to water, debris, and sharp edges.
Basic tools for inspections and minor repairs
Keep a 10 and 14 inch pipe wrench for gripping threaded pipe and fittings, plus an adjustable wrench for supply nuts and valve stems. Tongue and groove pliers offer fast, secure grip on traps, compression nuts, and hose connections, and a basin wrench reaches faucet nuts behind sinks. A cup plunger for sinks and a flange plunger for toilets resolve many clogs, and a 25 foot hand drain auger clears deeper obstructions. A dedicated pipe cutter produces square cuts on copper and PVC, while a fine tooth hacksaw helps when space is tight or hardware is corroded. Add a headlamp of at least 300 lumens and a small magnetic pickup tool for dropped parts.
Recommended materials to keep on hand
Stock PTFE thread sealing tape, silicone grease for O-rings, and assorted faucet washers and O-rings to stop drips quickly. Keep pipe insulation sleeves for exposed lines in garages and crawl spaces, reducing freeze probability and condensation. Have a bucket, absorbent towels, and plastic sheeting to catch and contain water during disassembly. For repairs, keep PVC primer and cement, solder and flux for copper if you are trained, and a clamp or epoxy putty for temporary pinhole control. Consider smart leak sensors and automatic shutoff valves, part of a rapidly growing smart water market, to alert you to hidden leaks.
Step by step, quick inspection and minor fix
- Isolate water, don PPE, and stage a bucket and towels. 2) Inspect visible piping, valves, and traps for corrosion, green or white mineral stains, and active drips. 3) Perform a no use meter test for 30 to 60 minutes to screen for hidden leaks, any movement indicates a problem. 4) Measure static pressure at a hose bib with a gauge, target 40 to 60 psi, address values above 80 psi with a regulator. 5) Exercise fixture shutoff valves, clean aerators, and replace worn washers or O-rings as needed. 6) Clear slow drains with a plunger, then a 1/4 inch hand auger if needed, restore full flow and verify with a two minute run test. 7) Insulate cold exposed runs and confirm indoor temperature settings ahead of a freeze. 8) Log findings and schedule a full system inspection yearly to catch issues early.
Step-by-Step Guide to Plumbing Pipe Maintenance
Prerequisites and materials
Before any plumbing pipe maintenance, locate the main shutoff and relieve pressure by opening a nearby tap. Put on nitrile gloves. Gather a flashlight, dry cloths, a small bucket, hose-bib insulating covers, and plumber’s tape. In winter, keep indoor temperature at or above 55 degrees Fahrenheit to stabilize piping, a critical practice in Omaha and Council Bluffs cold snaps. Expected outcome, you are prepared to work safely and prevent freeze damage.
Inspect pipes for cracks or leaks
- Start with a visual pass in unheated areas, looking for moisture beads, scale, green corrosion on copper, or hairline cracks at fittings. 2) Wipe each run with a dry cloth, a damp film signals a seep. 3) In a quiet house, listen for intermittent drips after fixtures are closed. 4) Check the water meter, note the reading, avoid use for 30 minutes, any movement suggests a hidden leak. 5) Document findings with photos. 6) Schedule a full system inspection at least once per year to catch early failure.
Disconnect outdoor hoses in winter
Leaving a hose attached traps water in the sillcock and adjacent pipe, which can freeze and burst. 1) Close the interior shutoff to each hose bib if present, then open the exterior spigot to drain. 2) Unscrew the hose, hold it vertical to empty, and store it indoors. 3) Install an insulating cover on the spigot. Learn why pros insist on this step here, remove hoses in winter.
Let faucets drip to avoid freezing
- When outdoor temperatures approach 20 degrees Fahrenheit, keep select fixtures dripping to maintain flow. 2) Prioritize lines on exterior walls and in crawl spaces. 3) Open single handle faucets slightly to bleed both hot and cold, target one to two drips per second, and open sink cabinet doors. 4) Maintain indoor heat at a steady setpoint. For thresholds and technique, see when to drip faucets.
Smart Technologies and Trends in Plumbing Maintenance
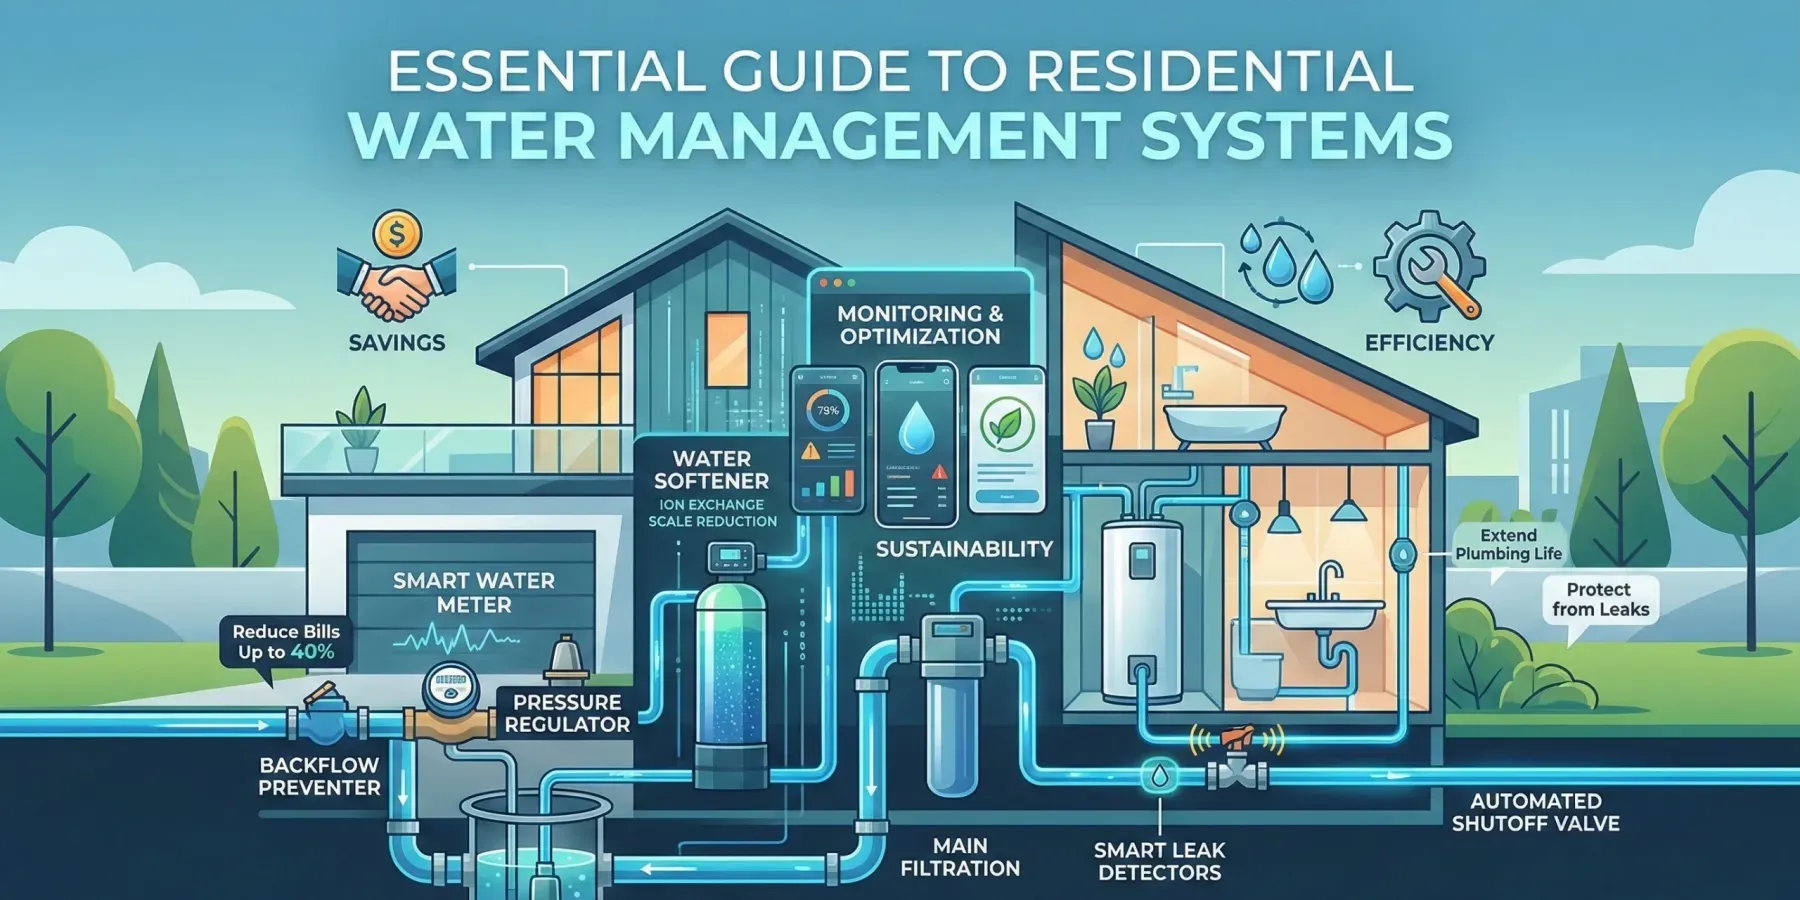
Smart plumbing pipe maintenance is entering a data driven phase as smart water tools are projected to reach 50 billion dollars globally by 2026. For beginners, the goal is simple, instrument your system, choose low disruption repair options, and reuse water where safe. The sequence below prioritizes risk reduction, cost control, and sustainability. Each step builds on the last, with clear materials and expected outcomes.
Integrate smart technology into your plumbing
Internet connected sensors track pressure, flow, and temperature, then alert you before minor leaks become bursts. Whole home monitors and automatic shutoff valves can isolate supply in seconds, limiting damage and insurance claims, and many integrate with phones for remote control. Smart water heaters add scheduling and learning features that cut standby losses, with on demand models often saving hundreds per year. For fundamentals on monitors, see IoT leak and flow monitoring basics, for valves see Automatic shutoff valve technology overview, and for heaters see Smart water heaters with app control. Expected outcome, real time visibility, automatic protection, and lower utility spend. Prerequisites and materials, home Wi Fi, smartphone, whole home water monitor, auto shutoff valve, smart leak sensors, optional smart water heater. 1) Install the monitor at the main after the shutoff, then calibrate with the app. 2) Add point leak sensors near heaters, sinks, and appliances. 3) Test the auto shutoff by simulating a small leak. 4) Program heater schedules to match occupancy.
Choose trenchless repair when pipes fail
Trenchless lining or pipe bursting repairs aging drains and laterals through small access points, avoiding lawn and driveway demolition. Total project costs often drop when restoration is considered, and many residential relines finish within a day. Materials like cured in place liners extend service life and reduce infiltration. Environmental impact is lower due to less excavation and trucking. Expected outcome, faster restoration, less mess, and durable results. 1) Start with a camera inspection and locate cleanouts. 2) Request a condition report with diameter, length, and method options. 3) Schedule work when water use can pause for several hours.
Implement a beginner friendly greywater loop
Greywater from showers, tubs, and laundry can be redirected for irrigation or toilet flushing, cutting potable demand by 25 to 50 percent. Systems must follow local code, include filtration, and prevent cross connections. For entry level setups, laundry to landscape kits are common, gravity fed, and low maintenance. More advanced systems add storage, disinfection, and pump control tied to smart sensors. Expected outcome, lower water bills and reduced load on sewers. 1) Verify code requirements and permitted sources. 2) Install a diverter valve and filter, then label all non potable outlets. 3) Inspect filters monthly and flush lines seasonally.
Troubleshooting Common Plumbing Pipe Issues
Prerequisites and materials
Before troubleshooting, shut off the local fixture valve or the main, then open a nearby faucet to relieve pressure. Wear nitrile gloves and safety glasses, and unplug any powered devices near wet areas. Gather an adjustable wrench, plumber’s tape, two-part epoxy putty, a cup plunger, a bucket, towels, a flashlight, and your phone for photos. Optional tools include a low-range pressure gauge for a hose bib and a non-contact moisture meter to track dampness behind finishes. The goal is to create a safe, controlled workspace and to capture evidence that helps if professional service is needed.
Step-by-step troubleshooting workflow
- Inspect symptoms. Note sudden pressure drops, rusty or yellow water, and banging or whistling sounds. See these references for context on pressure and corrosion indicators, discolored water as a damage sign, and abnormal pipe noises.
- Localize the issue. Trace damp spots and ceiling stains, dry suspected areas with a cloth, and check the water meter with all fixtures off to confirm hidden leaks.
- Stabilize minor joint seepage. Shut water, clean and fully dry threads, apply 6 to 8 clockwise wraps of plumber’s tape, retighten snugly, and reopen water to test. Expected outcome is drip-free operation at the joint.
- Patch pinholes or hairline cracks. Knead epoxy putty, press over the leak, feather edges, and allow the full label cure time before repressurizing. This provides a temporary seal.
- Clear small clogs. Use a cup plunger with 10 to 15 firm strokes, or apply a baking soda then vinegar treatment, wait 15 minutes, and flush with hot water. Do not mix with chemical drain cleaners.
- Prevent recurrence. Install drain screens and clean P-traps carefully, ensuring gaskets reseat correctly.
- Verify. Restore flow, watch for drips for 10 minutes, and confirm the meter is still when fixtures are off.
When to seek professional help from A. Raymond Plumbing
Contact A. Raymond Plumbing if leaks persist after temporary fixes, multiple fixtures back up, stains spread, or you see corrosion, bulging, or cracked piping. Sewer odors, gurgling across several drains, or yard pooling require immediate evaluation. Water heater leaks, popping, or temperature instability also warrant professional diagnosis. Schedule a full-system inspection annually, and keep indoor temperatures at or above 55 degrees Fahrenheit in winter to reduce freeze risk. For remodels, code-critical work, or backflow, sump pump, and softener tie-ins, professional service ensures compliance and protects your warranty.
Conclusion: Optimal Plumbing Maintenance Practices
Optimal plumbing pipe maintenance combines routine checks, seasonal protection, and smart monitoring. Recap the essentials: inspect visible joints monthly, clean strainers and flush drains to minimize clog formation, and purge sediment annually from supply lines and heaters to preserve flow. In winter, keep thermostats at 55 degrees Fahrenheit or higher and insulate exposed piping to avoid freeze failures. Add smart water monitors and auto shutoff valves to detect anomalies in real time.
Quick maintenance loop
Prerequisites and materials: flashlight, nitrile gloves, bucket, plumber’s tape, smartphone for IoT alerts.
- Record meter baselines, then test fixtures for pressure stability.
- Wipe fittings to spot weeping, tighten or tape threaded joints as needed.
- Vacuum P-traps, apply enzyme cleaner, then set freeze and leak thresholds. Expected outcome: early leak detection, fewer clogs, and stable pressure with documented trends.
Professional plumbing services are critical for pipe health beyond DIY scope. Schedule a full-system inspection yearly to locate hidden leaks and pressure imbalance, verify backflow protection and sump performance. Technicians can camera-scope drains, tune regulators, and calibrate smart shutoff valves so alerts match normal usage. In Omaha and Council Bluffs, A. Raymond Plumbing pairs proactive maintenance with emergency response to protect long term efficiency.